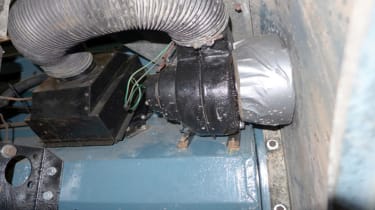
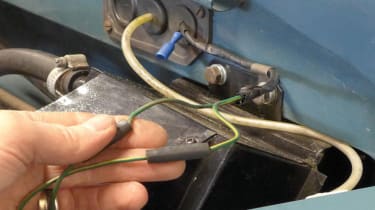
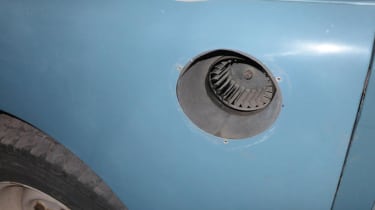
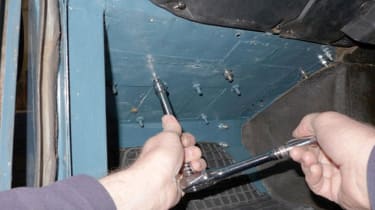
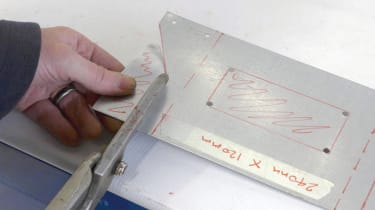
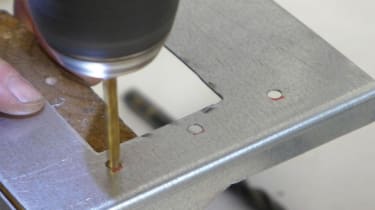
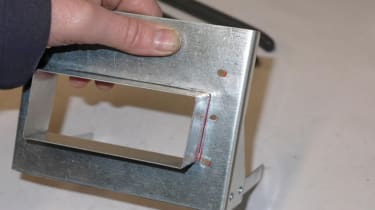
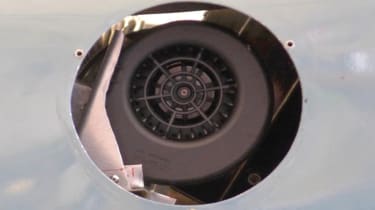
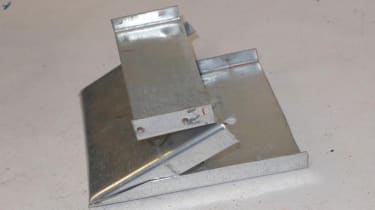
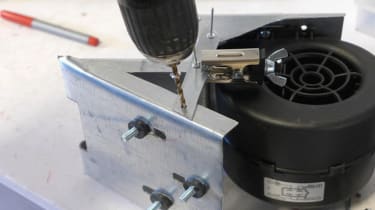
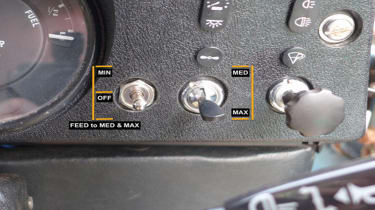
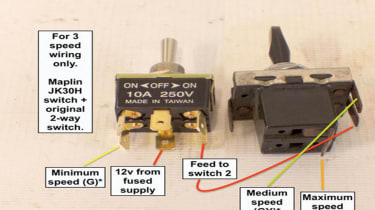
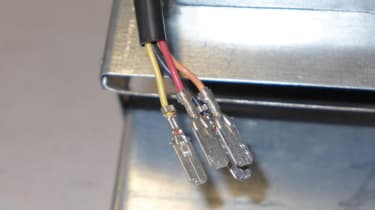
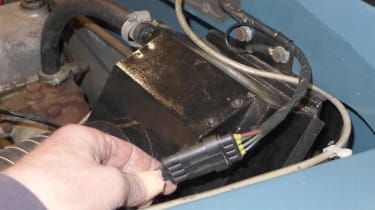
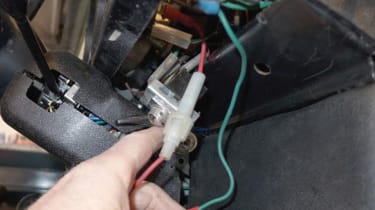
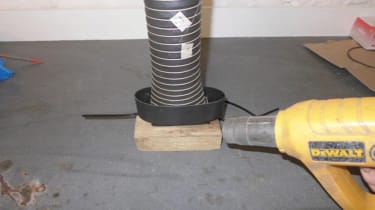
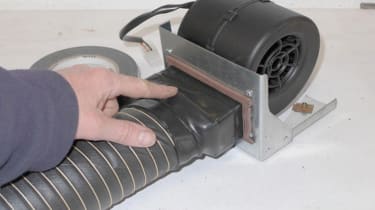
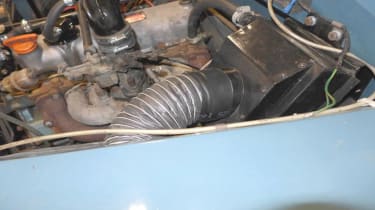
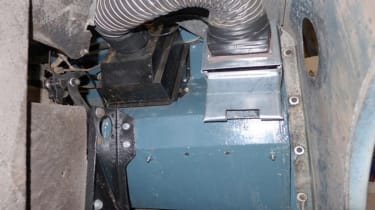
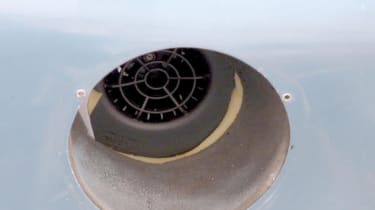
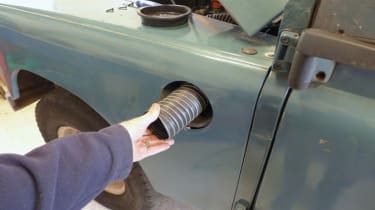
Upgrade the cab heater blower on your series III - pictures


Recommended
Four new Land Rover Defender Classic V8s with wild colour-changing paint go to one customer
Four new Land Rover Defender Classic V8s with wild colour-changing paint go to one customer
You’re not likely to see these special Land Rover Defenders doing work around the farm anytime soon
New Land Rover Defender Sport: baby SUV hedges bets with EV and hybrid power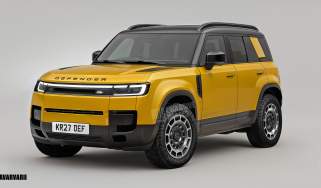
New Land Rover Defender Sport: baby SUV hedges bets with EV and hybrid power
The new Land Rover Defender Sport will sit below the existing Defender in both size and price, and our exclusive image previews how it could look
Best 7-seater cars to buy 2026
Best 7-seater cars to buy 2026
We pick the best seven-seater cars for family life across a wide range of price points
New Land Rover Defender updates suggest 'if it ain't broke...' approach
New Land Rover Defender updates suggest 'if it ain't broke...' approach
Land Rover isn’t fixing what isn’t broken with its hugely popular Defender
Most Popular
New Vauxhall Astra won't be a hatch, with big estate-ment of intent planned
New Vauxhall Astra won't be a hatch, with big estate-ment of intent planned
Vauxhall is guaranteed to offer wagon body and electric power, but conventional hatch is not certain
New Car Awards 2026: the winners
New Car Awards 2026: the winners
All the winners and highly commended cars at the 2026 Auto Express New Car Awards.
New BMW X5 revealed: luxury SUV gets electric iX5 option for the first time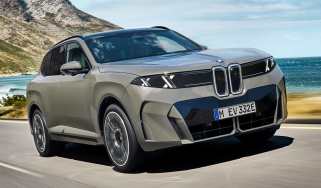
New BMW X5 revealed: luxury SUV gets electric iX5 option for the first time
The ultimate do-it-all BMW is now available with an array of powertrain options, including an iX5 with up to 525 miles of BEV range