Skip to ContentSkip to Footer
  • Reviews
  • News
  • Accessories & Tyres
  • Best Cars
  • Advice
  • Vans
  • Car Deals
  • Valuations
Subscribe

Find a car review

Make
  • Abarth
  • Alfa Romeo
  • Alpina
  • Alpine
  • Ascari
  • Aston Martin
  • Audi
  • Bentley
  • BMW
  • Bristol
  • Cadillac
  • Caterham
  • Chevrolet
  • Chrysler
  • Citroen
  • Corvette
  • Cupra
  • Dacia
  • Daihatsu
  • DFSK
  • Dodge
  • DS
  • Ferrari
  • Fiat
  • Ford
  • Great Wall
  • Honda
  • Hyundai
  • Ineos
  • Infiniti
  • Invicta
  • Isuzu
  • Iveco
  • Jaguar
  • Jeep
  • Kia
  • Koenigsegg
  • Lamborghini
  • Land Rover
  • LDV
  • LEVC
  • Lexus
  • Lotus
  • MAN
  • Marcos
  • Maserati
  • Maybach
  • Mazda
  • McLaren
  • Mercedes
  • MG
  • MINI
  • Mitsubishi
  • Morgan
  • Nissan
  • Noble
  • Perodua
  • Peugeot
  • Polestar
  • Porsche
  • Proton
  • Renault
  • Rolls-Royce
  • Saab
  • SEAT
  • Skoda
  • Smart
  • SsangYong
  • Subaru
  • Suzuki
  • Tesla
  • Toyota
  • Vauxhall
  • Volkswagen
  • Volvo
  • Westfield
Model
Features
  • Home
  • Land Rover

How to repair a cracked engine block - pictures

by: Auto Express team
27 Sep 2017
Go to: How to repair a cracked engine block
  • Step 1

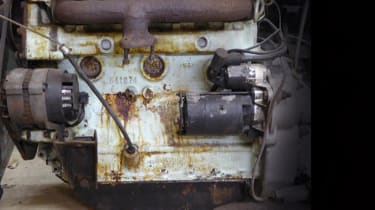
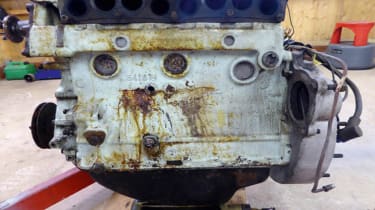
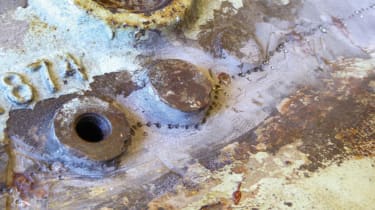
    <span>The problem: The crack coincided with the coolant passage, which protrudes at mid height along the left side of the engine block (note leakage stains).</span>

  • Step 2

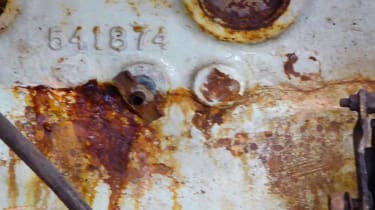
    <span>The visible part of the crack runs horizontally and around the drain tap, between the alternator and the starter motor.</span>

  • Step 3

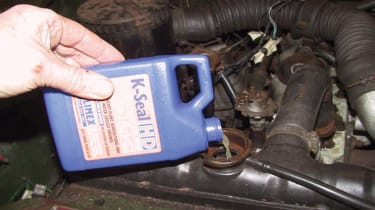
    <span>Adding industrial quality sealant to the cooling system might have effected a temporary repair, but did not completely seal the crack.s</span>

  • Step 4

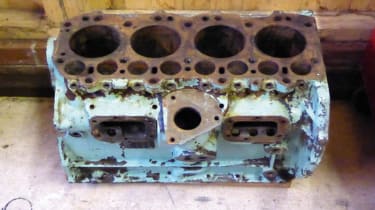
    <span style="font-size: 0.8125em;">Spare block (from a SIII Lightweight petrol) would have made a good replacement after re-boring, but would’ve involved swapping engine internals over.</span>

  • Step 5

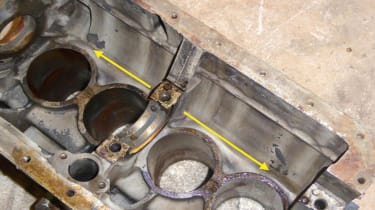
    <span>The position of the water passage which cracked on my engine is marked with the arrows on the inside of this spare engine block.</span>

  • Step 6

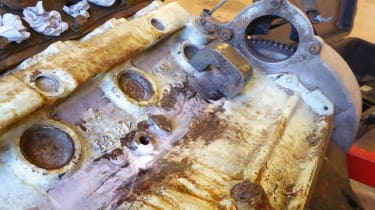
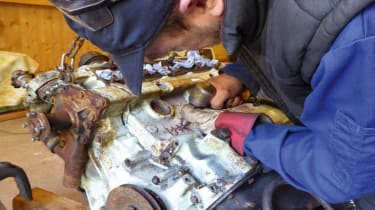
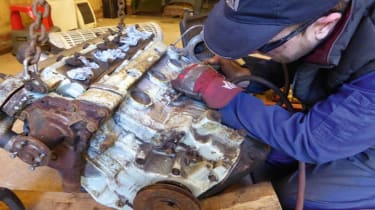
    <span>Stitiching the crack: In preparation, the exhaust manifold, alternator, starter and dipstick tube were removed to improve access. Exhaust ports plugged to deter grit.</span>

  • Step 7

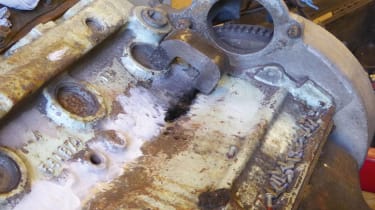
    <span>After cleaning the surface along the cracked area, white background paint is applied, the magnet fixed, and particles are washed over.</span>

  • Step 8

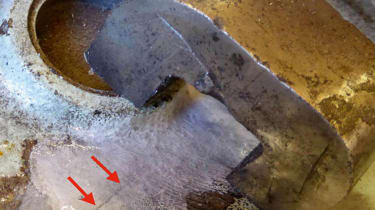
    <span>The magnet causes the magnetic particles to align along the crack (arrowed) revealing the exact route and the full extent of the crack.</span>

  • step 9

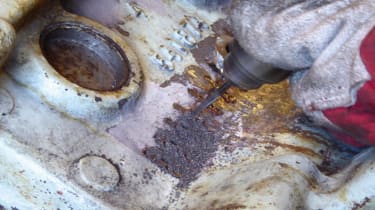
    <span>Crack follows around casting bosses. Neil centre-punches along the crack to provide drilling positions for studded plugs to be fitted later.</span>

  • Step 10

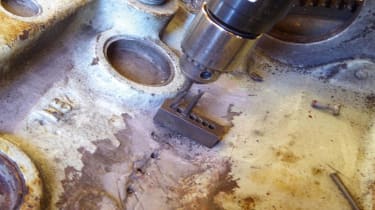
    <span>Several punch marks are drilled out to locate this jig which allows Neil to drill a precise series of holes across the crack, at 90 degrees to it.</span>

  • Step 11

    <span>The result is an accurately spaced series of holes drilled across the crack in numerous positions. This forms the basis of the main stitching.</span>

  • Step 12

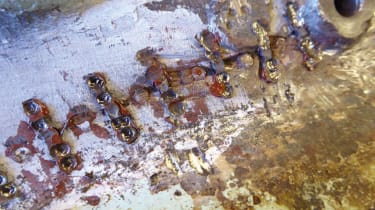
    <span>Between each row of drillings, the crack itself has been drilled and a self-tapping screwed plug inserted with sealant, before cutting off flush.</span>

  • Step 13

    <span>Each series of vertical drillings is then joined up using a pneumatic chisel to cut through the metal between each hole, joining the holes together.</span>

  • Step 14

    <span>The chisel produces a cut narrower than the diameter of the holes it is joining. Thus, it turns each series of holes into a serrated slot.</span>

  • Step 15

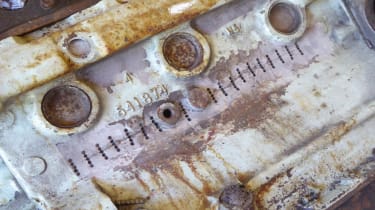
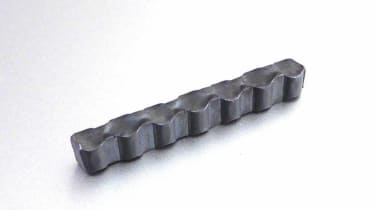
    <span>Metal keys are fitted in each slot to hold the crack together. They have the same expansion rate as the block material, so will stay tight when hot.</span>

  • Step 16

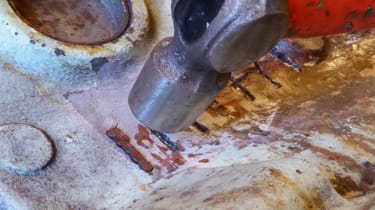
    <span>Each key, coated with a sealing compound, is initially tapped into the serrated slots using the light hammer, until all are in position.</span>

  • Step 17

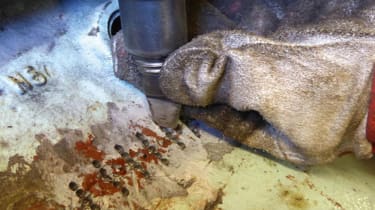
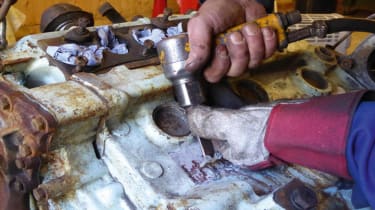
    <span>The keys are then driven fully home and expanded into their slots using a pneumatic impact tool which also peens the tops over almost flush with the surface.</span>

  • Step 18

    <span>The result isn’t pretty, at least at this stage. But it will look great eventually. Meanwhile, there’s more drilling, tapping and plugging to be done.</span>

  • Step 19

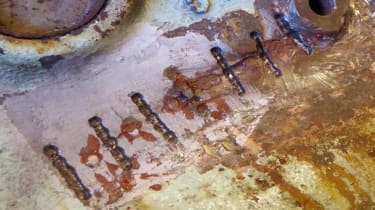
    <span>The remaining centre-punch marks along the line of the crack are now drilled out for more plugs. Each one is between an earlier plug and a key.</span>

  • Step 20

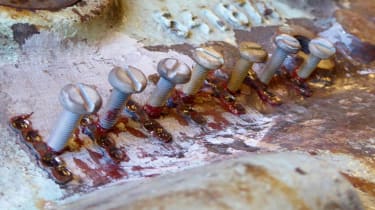
    <span>Screwed plugs are fitted with sealant into each new hole, connecting with each other to replace the crack with a line of sealed inserts.</span>

  • Step 21

    <span>The protruding ends of each of the screwed plugs are removed by the pneumatic chisel, cutting them slightly proud of the surface of the block.</span>

  • Step 22

    <span>Finally, excess sealant is removed and the complete area of the repair is ground smooth, removing all traces of the plug and key inserts.</span>

  • Step 23

    <span>Testing the repair: A further magnetic particle test is carried out on the newly prepared surface to confirm that all traces of the crack have been removed.</span>

  • Step 24

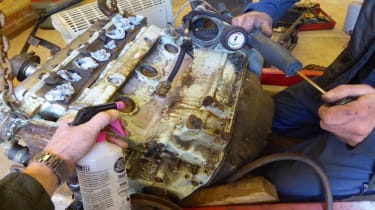
    <span>Finally, coolant connections are sealed and a 10 psi air pressure test applied, while checking for leaks with soap solution. There are no tell-tale bubbles – it’s tight.</span>

  • Step 25

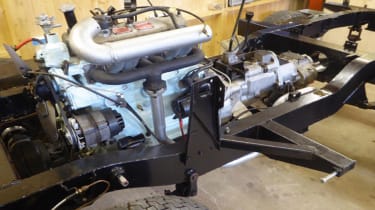
    <span>After re-painting, there is no evidence of the repair. The real test of running the engine will have to wait until the bulkhead is on and systems connected.</span>

Recommended

Jaguar Land Rover confirms plans to cut 2,000 jobs
Jaguar
Jaguar

Jaguar Land Rover confirms plans to cut 2,000 jobs

JLR will trim its workforce over the next year – but company executives have confirmed that the changes won’t affect factory workers
18 Feb 2021
New Jaguar Land Rover electric car offensive: full details
Land Rover EVs
Jaguar

New Jaguar Land Rover electric car offensive: full details

New JLR boss announces that Land Rover is to launch six new pure electric models in the next five years, but the all-electric Jaguar XJ project has be…
15 Feb 2021
Jaguar Land Rover returns to profit in Q3 despite pandemic
JLR front end
Land Rover

Jaguar Land Rover returns to profit in Q3 despite pandemic

12 per cent of JLR sales plug-in hybrid or fully electric in third quarter of 20/21
29 Jan 2021
The future of Jaguar Land Rover: JLR design boss reveals all 
Land Rover

The future of Jaguar Land Rover: JLR design boss reveals all 

Gerry McGovern’s new role is helping to define JLR brands, not just the look, while encouraging designers to think big and dream...
26 Dec 2020

Most Popular

Euro 7 standards: EU considers lifetime surveillance of every new car
UK Motorway
News

Euro 7 standards: EU considers lifetime surveillance of every new car

Cars could feed data to the EU every second they are being driven; rules could also force hybrids into EV mode, while MoT test results could be affect…
5 Mar 2021
UK-based Arrival reveals electric panel van with modular battery system
Arrival electric van
News

UK-based Arrival reveals electric panel van with modular battery system

Arrival’s electric van will hit UK roads this summer, with a modular battery pack and maximum payload of almost two tonnes
5 Mar 2021
Volkswagen lays out new plans for electrified future
VW ID
News

Volkswagen lays out new plans for electrified future

Volkswagen has revealed plans for its current lineup along with its range of ID-branded electric cars
5 Mar 2021
Skip to HeaderSkip to Content
Logo
  • Valuations
  • Contact Us
  • About Us
  • Evo
  • Carbuyer
  • Buyacar
  • Privacy Policy
  • Cookie Policy
  • Accessibility
  • Privacy Preferences

Subscribe to Auto Express magazine

Get the best of Auto Express
6 weeks for just £1 plus a free gift6 weeks for just £1 plus a free gift

Copyright © Dennis Publishing Limited 2021. All rights reserved.
Auto Express™ is a registered trade mark.

Follow us on FacebookFollow us on TwitterFollow us on YouTubeFollow us on Instagram