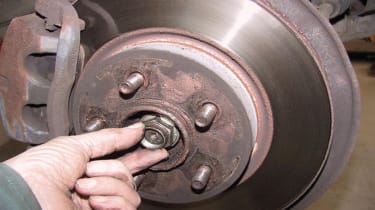
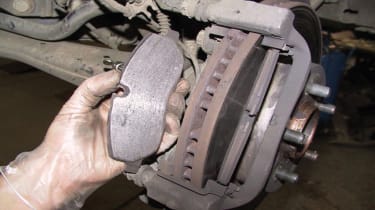
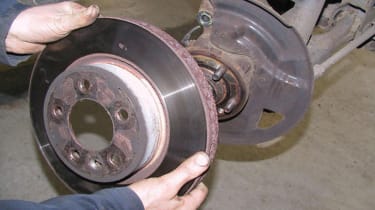
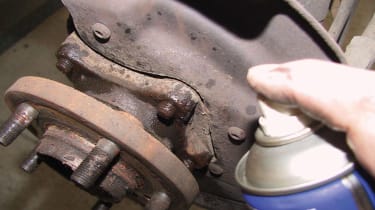
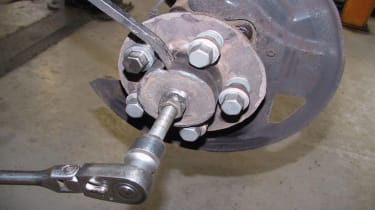
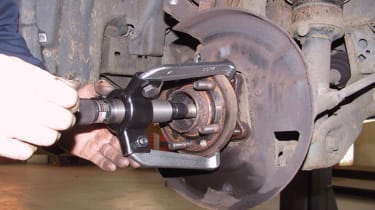
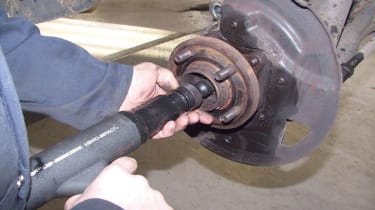
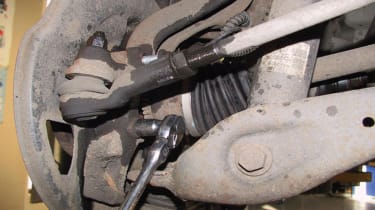
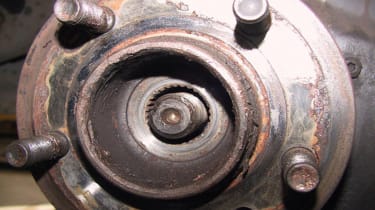
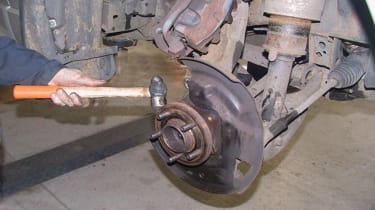
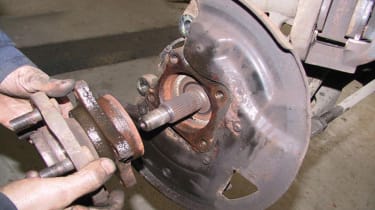
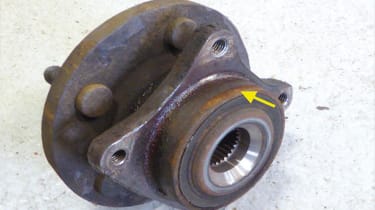
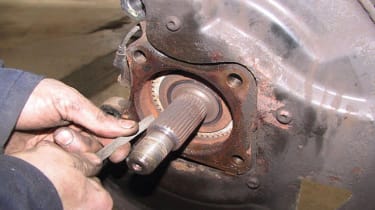
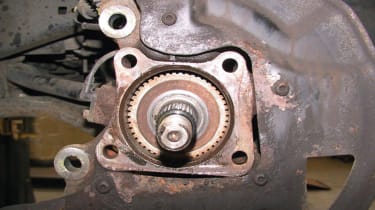
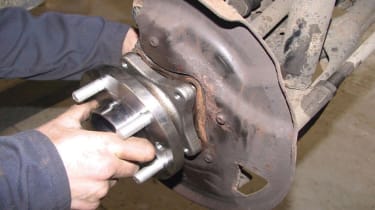
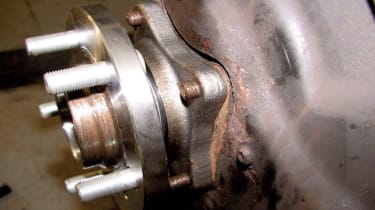
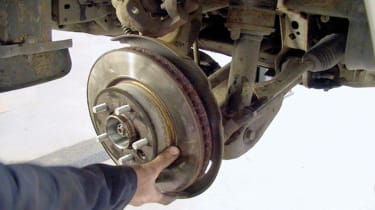
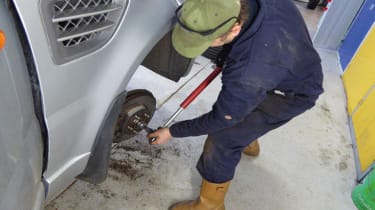
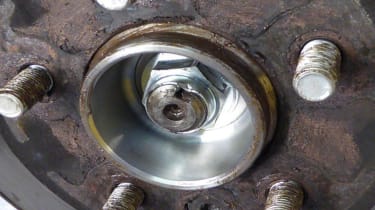
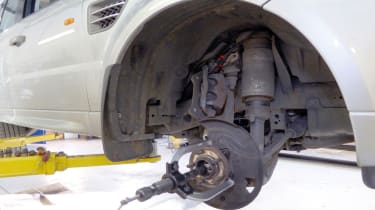
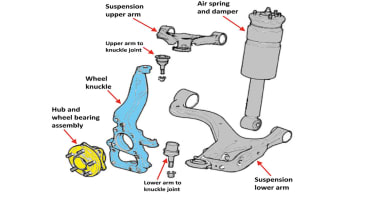
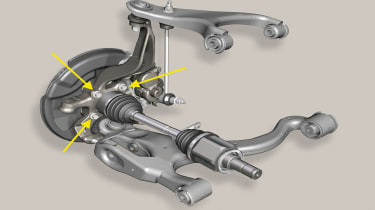
How to replace a D3 front hub bearing - pictures


Most Popular
Can you park over a dropped kerb? Blocked driveways, rights and the law explained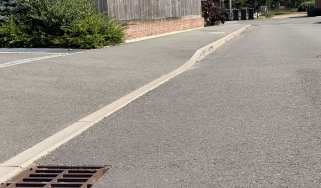
Can you park over a dropped kerb? Blocked driveways, rights and the law explained
A dropped kerb allows vehicles to legally cross the pavement between the road and a private driveway or parking space, here’s everything you need to k…
VW ID. Buzz gets new Good-Night package for camper van capability
VW ID. Buzz gets new Good-Night package for camper van capability
We’ve been waiting for VW to transform the ID. Buzz into a modern camper
Four new Land Rover Defender Classic V8s with wild colour-changing paint go to one customer
Four new Land Rover Defender Classic V8s with wild colour-changing paint go to one customer
You’re not likely to see these special Land Rover Defenders doing work around the farm anytime soon