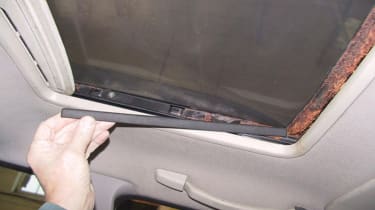
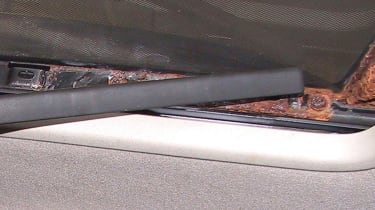
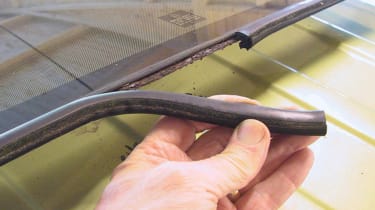
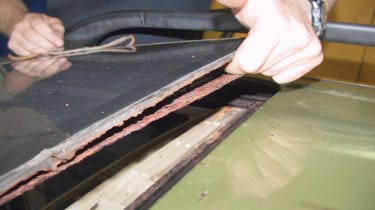
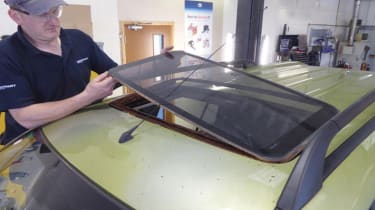
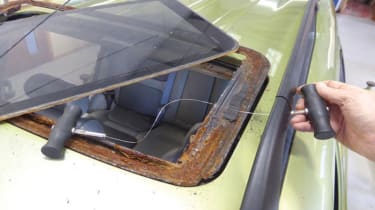
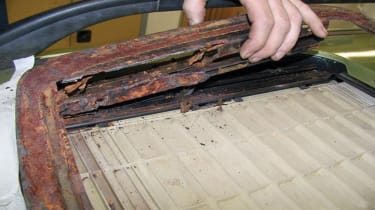
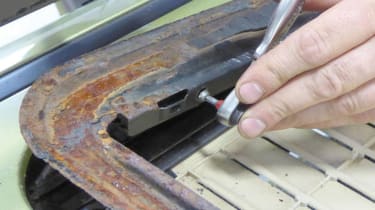
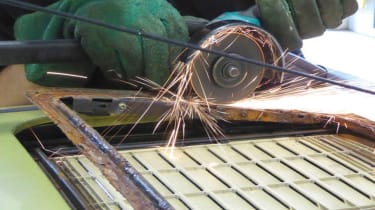
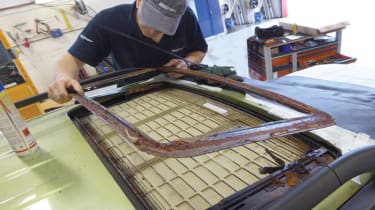
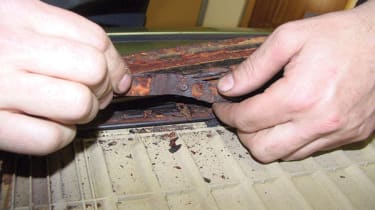
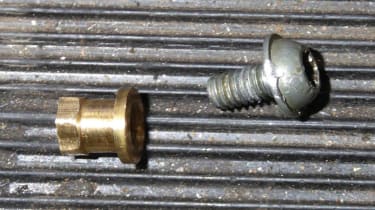
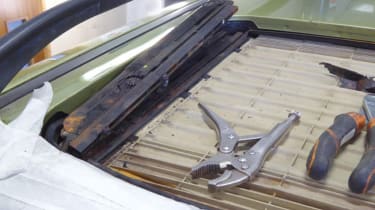
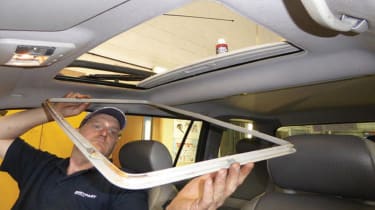
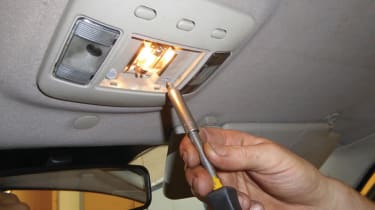
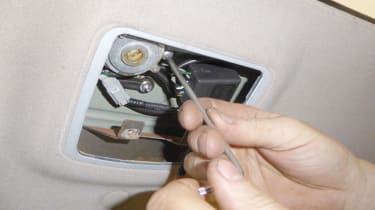
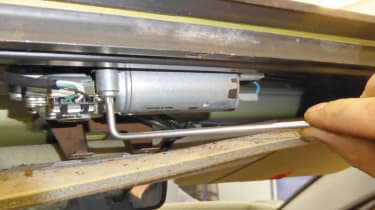
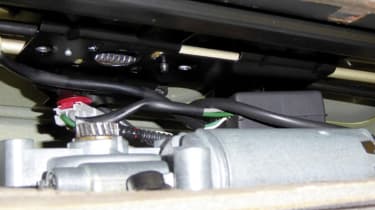
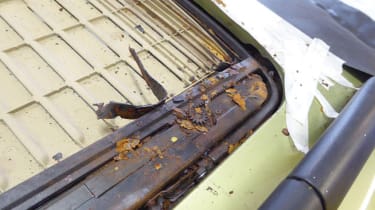
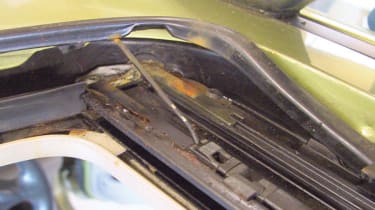
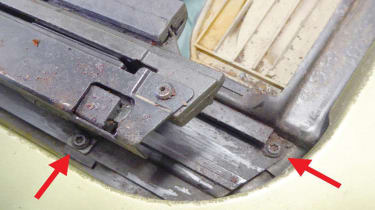
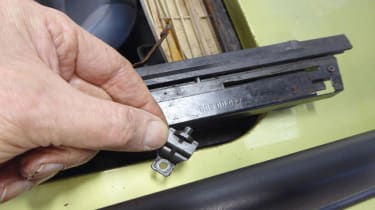
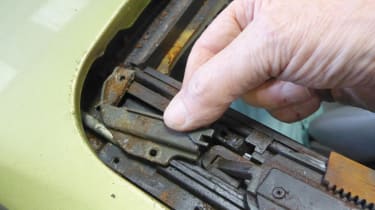
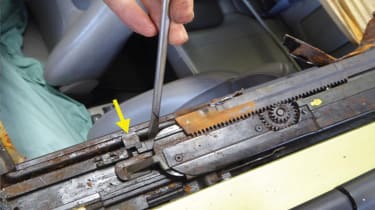
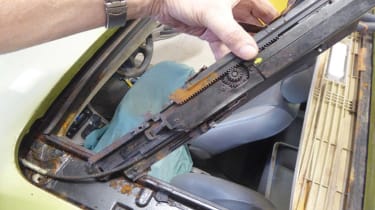
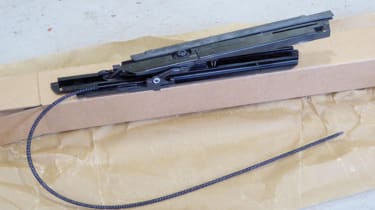
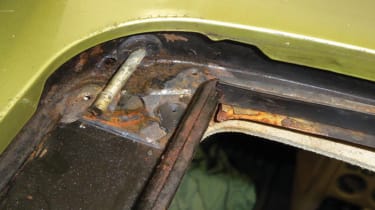
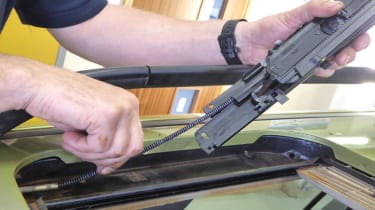
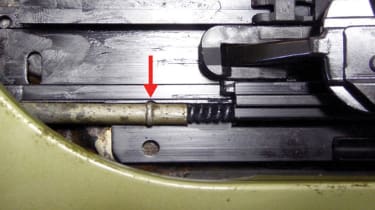
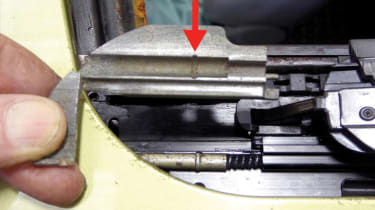
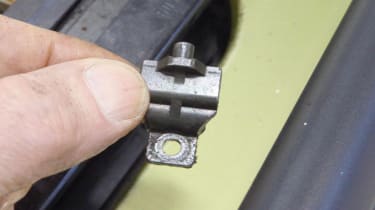
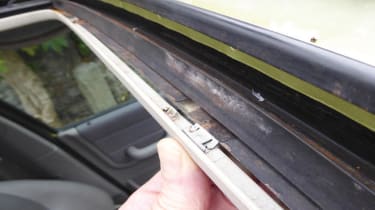
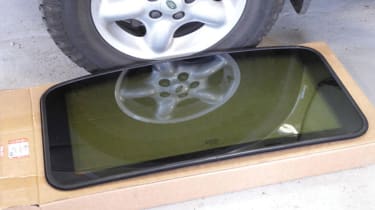
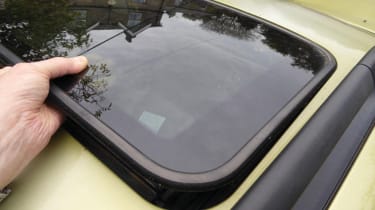
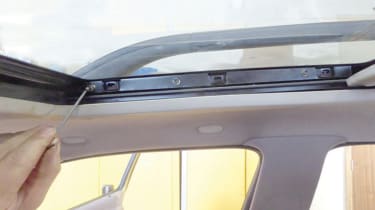
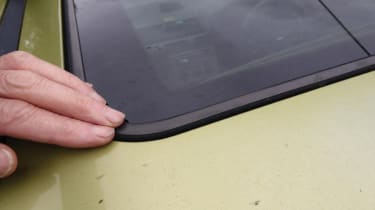
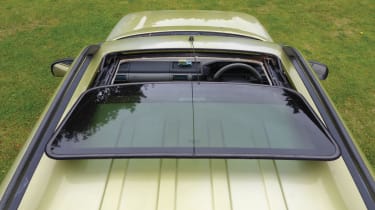
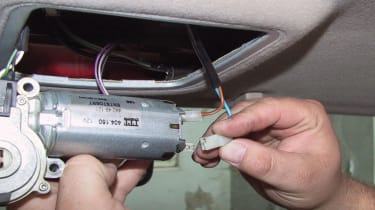
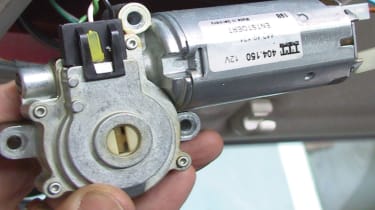
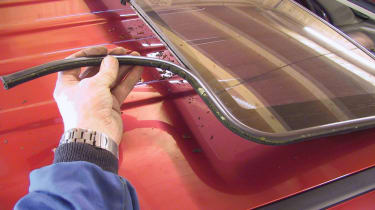
How to rebuild the roof on a Freelander 1 - pictures


Recommended
Best new cars coming soon: all the big new car launches due in 2026, 2027 and beyond
Best new cars coming soon: all the big new car launches due in 2026, 2027 and beyond
Here are the most important new cars from Alfa Romeo, Audi, BMW, Dacia, Ferrari, Ford, Skoda and more
Jaguar Land Rover and Stellantis: latest details on surprise partnership
Jaguar Land Rover and Stellantis: latest details on surprise partnership
Stellantis’ surprise joint venture with JLR will not extend to Europe due to ‘product overlap’, but further collaborations have not been ruled out
Jaguar Land Rover recalls 170,000 SUVs with UK cars experiencing similar problems
Jaguar Land Rover recalls 170,000 SUVs with UK cars experiencing similar problems
JLR has recalled models from across the Jaguar, Land Rover and Range Rover ranges over a faulty DC-DC converter module
10 coolest SUVs coming soon: new models aim to take the 4x4 market by storm
10 coolest SUVs coming soon: new models aim to take the 4x4 market by storm
These are fresh SUVs we can’t wait to arrive, from Skoda’s butch baby electric SUV to McLaren’s loftiest creation ever
Most Popular
Electricity VAT axe to make EV charging cheaper, just not if you can’t charge at home 
Electricity VAT axe to make EV charging cheaper, just not if you can’t charge at home
VAT on domestic electricity will be scrapped from October, thus widening the gap between home and public charging
New Dacia Spring confirmed for September reveal and super low price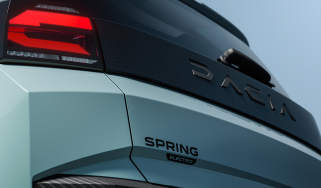
New Dacia Spring confirmed for September reveal and super low price
The new Spring will be based on the adorable Renault Twingo and built here in Europe
New Volkswagen ID. Polo will start from under £24,000
New Volkswagen ID. Polo will start from under £24,000
Volkswagen’s electric supermini is arriving with a 280-mile range, classy looks and a pinch of nostalgic charm