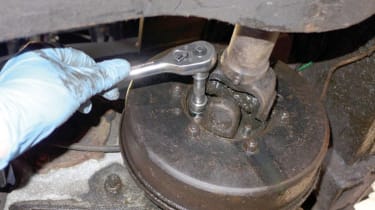
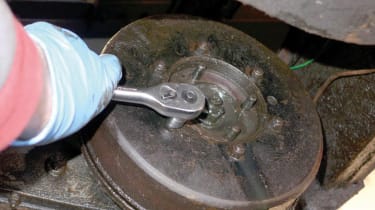
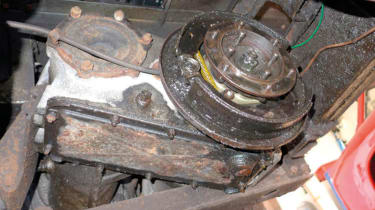
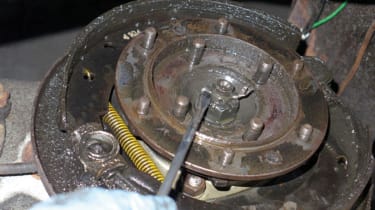
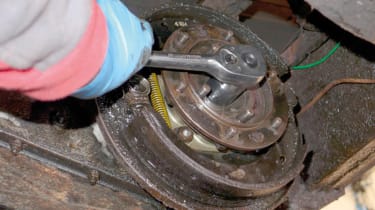
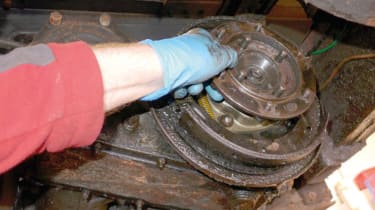
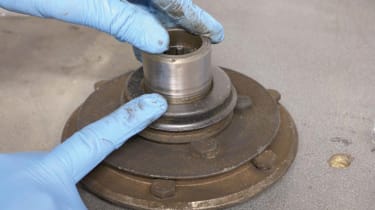
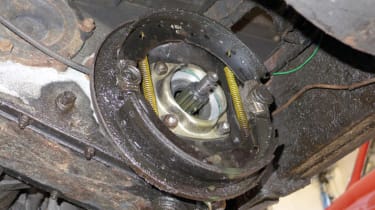
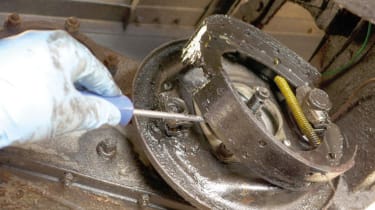
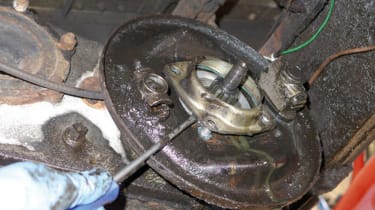
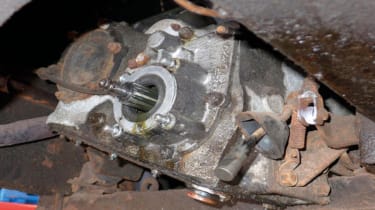
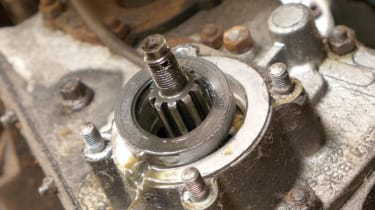
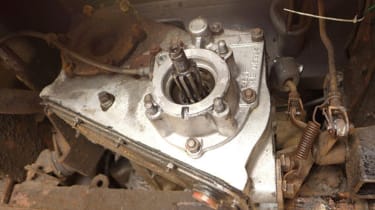
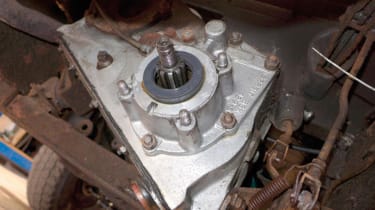
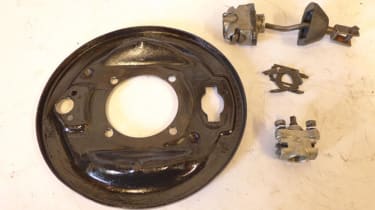
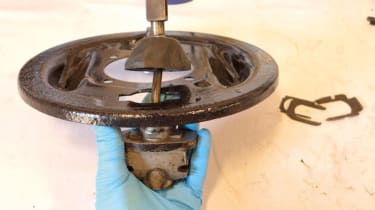
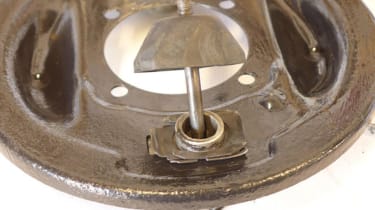
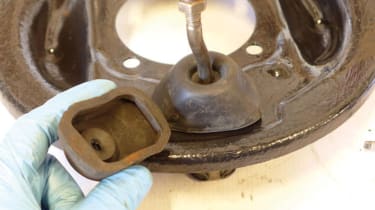
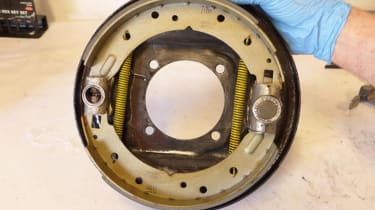
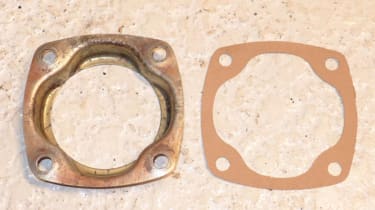
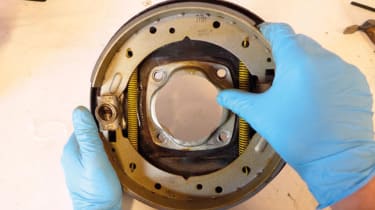
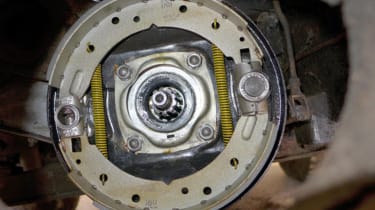
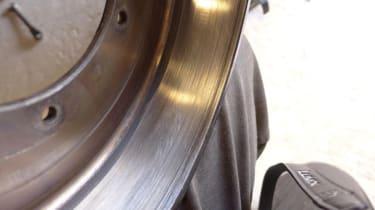
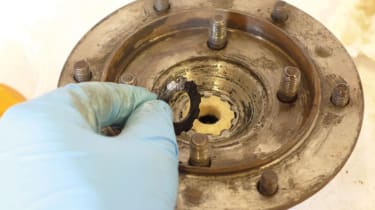
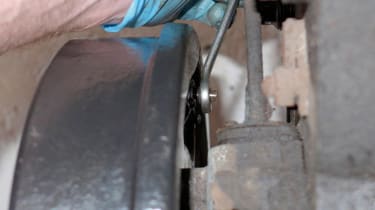
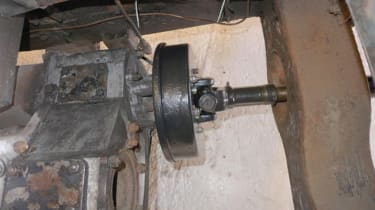
How to replace your transfer box rear oil seal - pictures


Recommended
Land Rover Freelander to return in 2026, but not to the UK
Land Rover Freelander to return in 2026, but not to the UK
The Freelander name will be used for new range of electric cars, initially just sold in China but possibly coming here as well down the road
Best new cars coming soon: all the big new car launches due in 2025, 2026 and beyond
Best new cars coming soon: all the big new car launches due in 2025, 2026 and beyond
These are the most important new cars headed our way, from brands including Audi, BMW, Dacia, Ferrari, Ford, Skoda and more
Land Rover Defender drives JLR profits to a ten year high
Land Rover Defender drives JLR profits to a ten year high
JLR prepares for a busy year ahead with the launch of the first electric Range Rover, and the next stages of Jaguar’s rebirth
Classic Land Rovers get all-electric power thanks to Inverted
Classic Land Rovers get all-electric power thanks to Inverted
Inverted has expanded its operation to include Land Rover’s most iconic car
Most Popular
Ford Escort Mexico gets new lease of life with MST Sports
Ford Escort Mexico gets new lease of life with MST Sports
While not officially Fords, the MST Mk1 and Mk2 Sports should drive as sharply as they look
New MG IM5 has the Tesla Model 3 beaten on price and range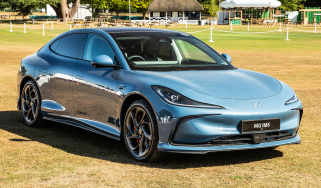
New MG IM5 has the Tesla Model 3 beaten on price and range
The all-electric IM5 brings new technology and design to the MG line-up
Car Deal of the Day: Skoda Octavia vRS is the consummate all-rounder and only £255 a month!
Car Deal of the Day: Skoda Octavia vRS is the consummate all-rounder and only £255 a month!
A three-time Auto Express Family Car of the Year winner, paired with Golf GTI power, is our Deal of the Day for 6 July