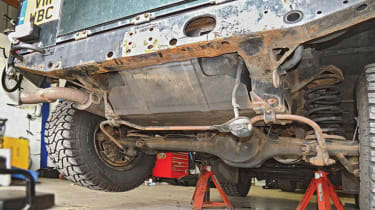
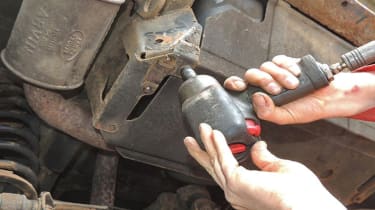
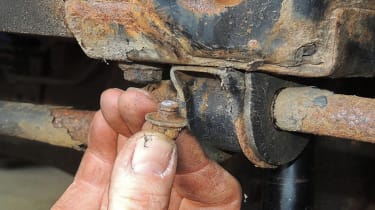
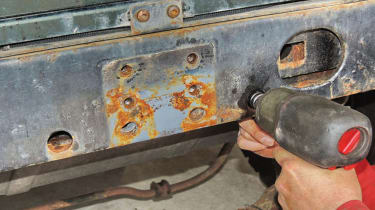
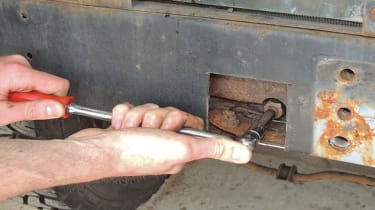
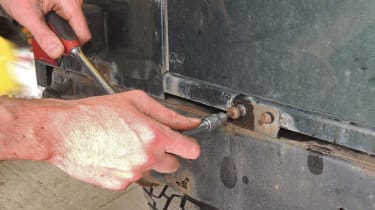
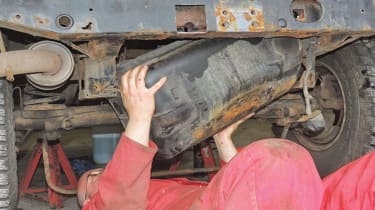
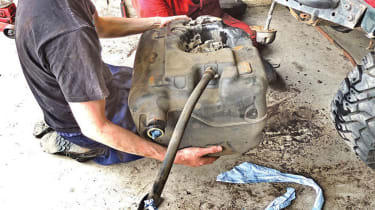
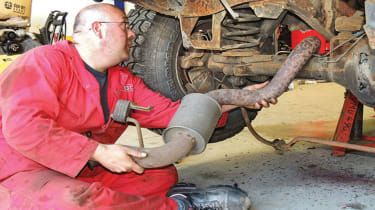
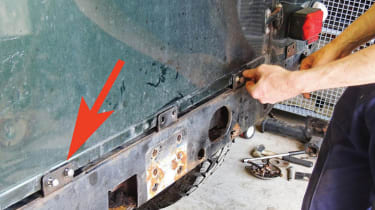
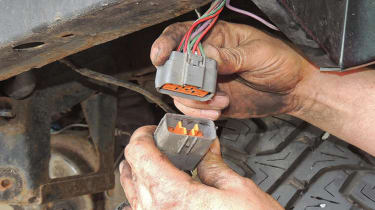
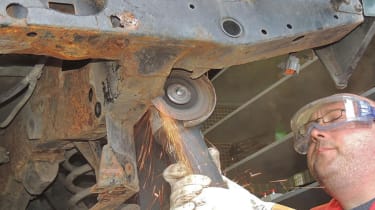
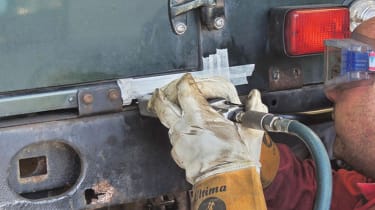
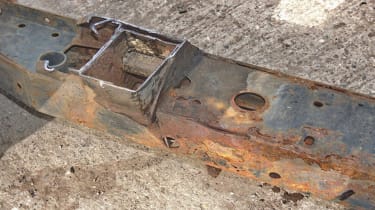
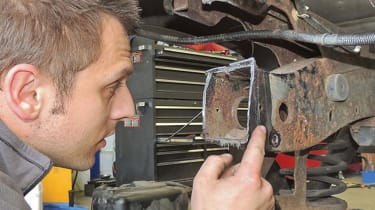
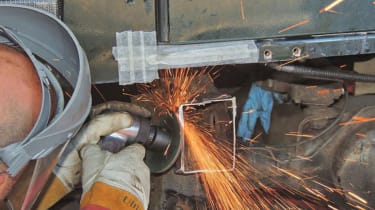
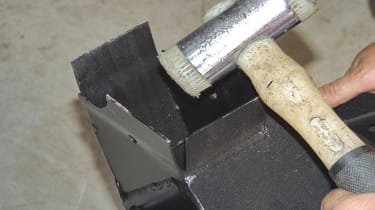
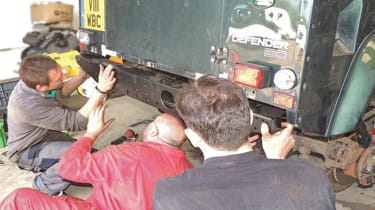
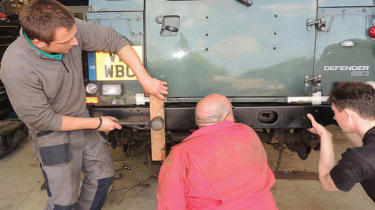
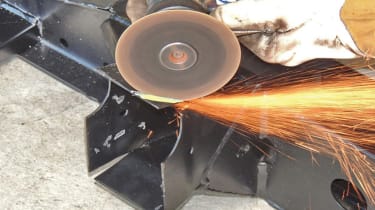
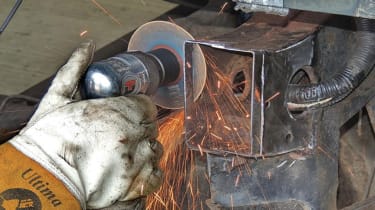
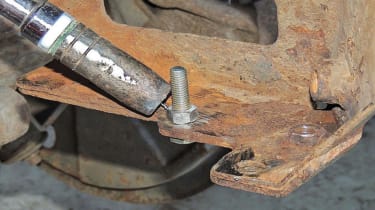
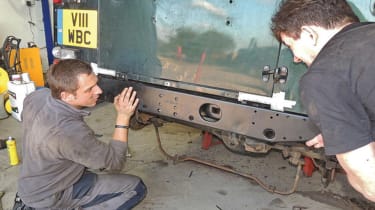
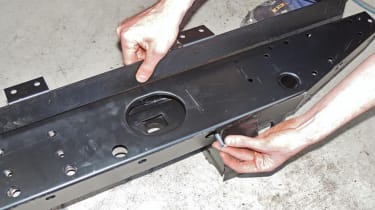
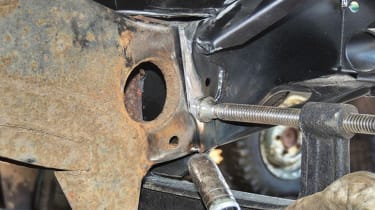
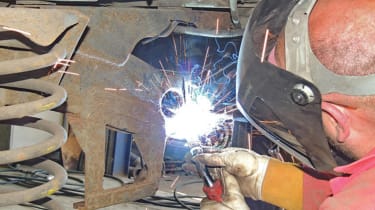
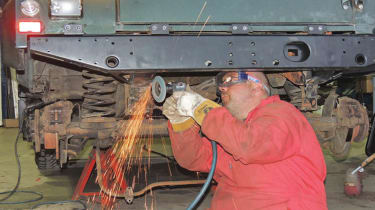
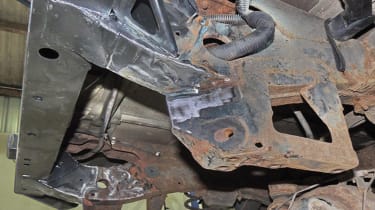
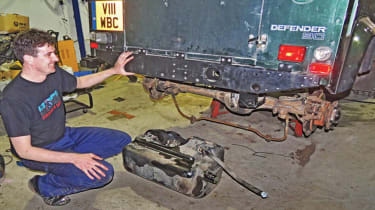
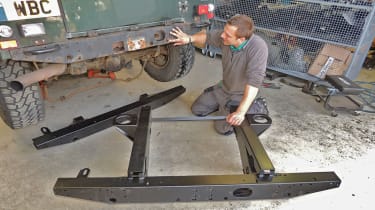
How to replace a Defender rear crossmember - pictures
<span>Rear-mounted fuel tank has to be removed, so run tank low before starting work, then drain or pump fuel out (see this month’s Product Test).</span>
<span>Bolts holding the fuel tank’s support plate to the chassis leg brackets are removed. But they are well rusted to their captive nuts and several shear off.</span>
- Skip advertAdvertisement - Gallery continues below
<span>Similarly, some of the anti-roll bar mounts have seized bolts. It’s quicker to let them shear off and renew them, and their captive nuts, later.</span>
<span>Two of the fuel tank support plate bolts are accessed through holes in the crossmember. Again, threads and bolt heads are corroded badly…</span>
- Skip advertAdvertisement - Gallery continues below
<span>..meaning the correct socket won’t fit. James, IRB’s fabricator, used a special tapered socket after cutting part of the scrap crossmember away for access.</span>
<span>The screws holding the body to the crossmember need a prior soak with releasing fluid. Some have captive nuts; those at the ends have free nuts.</span>
- Skip advertAdvertisement - Gallery continues below
<span>After disconnecting the fuel pipes, cables, and lifting the support plate away, the fuel tank can be worked free from its mounting frame.</span>
<span>Once the tank is out, carefully plug the pipe connections to prevent fuel spillage and store the tank safely, well away from grinding and welding.</span>
- Skip advertAdvertisement - Gallery continues below
<span>James, who was carrying out the welding for Ian, decided that removing the rear section from the exhaust would significantly improve access.</span>
<span>Body mounting bolts, removed earlier, were temporarily refitted to these two brackets to support the crossmember before cutting it free.</span>
- Skip advertAdvertisement - Gallery continues below
<span>Disconnect the wiring loom, cut where necessary and pull through with length of wire attached, so you can pull the loom back through when finished.</span>
<span>The new crossmember’s leg length is measured and marked on the chassis. Initial cut leaves extra material, to be trimmed back more accurately later.</span>
- Skip advertAdvertisement - Gallery continues below
<span>This crossmember was also attached to the chassis at each upper side. James used a power saw, protecting the paintwork with masking tape.</span>
<span>It looks as if the crossmember simply lifted away but it didn’t! There will almost inevitably be small areas of steel still attached. You have to patiently…</span>
- Skip advertAdvertisement - Gallery continues below
<span>…locate them while working the crossmember up and down when loose, to identify the culprits before cutting through and removing the crossmember.</span>
<span>It’s essential to cut back to sound steel. Ian checked the condition of the metal near the cuts before the repair section was offered up as a trial fit.</span>
- Skip advertAdvertisement - Gallery continues below
<span>The cut edges are trimmed, and the chassis area where the new section will fit is cleaned up with the grinder to produce a rust-free surface for welding.</span>
<span>The stubs on this repair section had the same dimensions as the original chassis rail, so were tapped outwards enabling it to slide over the chassis.</span>
- Skip advertAdvertisement - Gallery continues below
<span>It can be tricky to line things up correctly to start with, but it’s important not to panic and to check carefully and methodically as you proceed.</span>
<span>It’s okay to tap the crossmember into position using a hammer, but use a protective piece of wood placed right across the height to avoid dents.</span>
- Skip advertAdvertisement - Gallery continues below
<span>Part of making the crossmember fit accurately might involve removing small areas of metal. That’s fine provided you leave enough meat in the sandwich.</span>
<span>You’ll need to look for clues to line up the crossmember accurately. This chassis hole (left) conveniently matched one on the repair section (right).</span>
- Skip advertAdvertisement - Gallery continues below
<span>The joint area can now be marked out accurately with the new crossmember offered in place. Then use the cutting disc to remove the surplus.</span>
<span>At this stage, where bolts sheared during dismantling, the captive nuts were ground off and new nuts (temporarily held with a bolt) were welded in place.</span>
- Skip advertAdvertisement - Gallery continues below
<span>Finally, after painstakingly ensuring a correct fit – Ian was satisfied that the new IRB crossmember could be located perfectly in position for welding.</span>
<span>The bracket assembly for attaching the crossmember to the body is bolted on separately to provide adjustment, allowing for typical bodywork variations.</span>
- Skip advertAdvertisement - Gallery continues below
<span>Spend as long as needed, after fitting to the body, in correctly aligning the repair section. Clamp in place, apply a couple of spot welds, then check again.</span>
<span>ames temporarily tack-welded the joint at one side, then the other, continually checking alignments. Tacks can be ground off for readjustment if needed.</span>
- Skip advertAdvertisement - Gallery continues below
<div> When the new section was securely held by tack welds and correctly aligned, James made complete, unbroken strong welds all the way around the joints. </div>
<span>James used a soft pad on the grinder to clean off any weld spatter and any high spots – it can be tricky welding in such an awkward location.</span>
- Skip advertAdvertisement - Gallery continues below
<span>With welding complete, the finished job is a treat to behold. New steel welded skilfully to good, clean original steel has produced a strong and long-lasting job.</span>
<span>Owner Phil was full of admiration for the structural improvement to his Defender, and was ready to hitch up his trailer loaded with racing rowing boats.</span>
- Skip advertAdvertisement - Gallery continues below
Recommended

New Land Rover Defender OCTA 2025 review: ferocious and graceful in equal measure

Best cars with 3 ISOFIX child seat points 2025

Land Rover Defender Classic V8 review: more Clarkson’s Farm than Countryfile

Land Rover Defender OCTA will compete at Dakar
Most Popular

Car Deal of the Day: the Dacia Jogger is a seven-seater load-lugger for a bargain price

Outrageous Renault 5 Turbo 3E is a 533bhp hand-built, pocket-sized supercar

Jaecoo 7 vs Skoda Kamiq: SUV newcomer takes on a family favourite