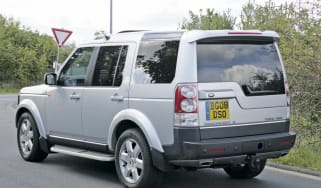
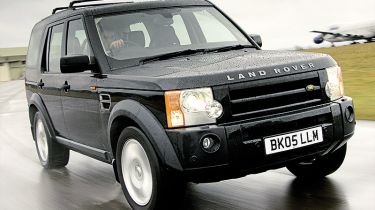
Land Rover Discovery 3 (2004-2009) review
The Discovery has a polished drivetrain and chassis, with excellent build quality, strong residuals and a class-leading image.
Driving:
The Land Rover, thanks to its air suspension, is accomplished on the road, with a sophisticated feel through corners and an impressive absence of roll. The steering also helps place it with great accuracy and ease. And while there may be a touch of float over longer undulations, the ride is extremely comfortable, wafting over bumps and completely isolating occupants from the road surface. Two Jaguar-derived engines provide impressive running manners, particularly the diesel, but struggle to overcome the Discovery's immense kerbweight. It is a leisurely performer, albeit remarkably refined and all but whisper-quiet in most situations. Off-road, it truly is a go-anywhere vehicle, with electronic gizmos taking car of most situations. The amount of axle articulation with the air suspension is amazing as well.
Marketplace:
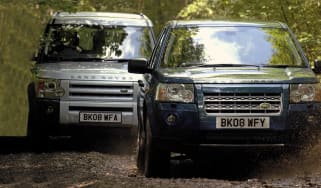
The enormous Discovery is a proud off-roader, which still boasts peerless ability in the mud as some rivals err towards the 'lifestyle' SUV sector. Models such as the Audi Q7, BMW X5, Mercedes M-Class, VW Touareg and Volvo XC90. The Discovery has a real advantage in offering seven seats, while its blend of uniquely British design has just the right amount of road presence. Land Rover offers two engines but it's the diesel that's by far the best-seller. Then again, you do pay richly for the privilege; prices are high, yet equipment levels don't reflect this - there are some costly omissions. Seven seats are a must and only come on S '7-seat' variants and above; standard cars lack them.
Owning:
Reliability has long been a Land Rover bugbear, but the firm promises things have improved under Ford stewardship. It's thirsty, even in diesel form, while CO2 emissions are high and servicing costs lumpy. But on the bright side, residuals are very impressive, particularly for the diesel. And it's an enormously roomy car. The split rear tailgate opens to reveal an accommodating (if complex) folding pair of rear seats, comparing well with even the largest MPVs. Leg and head space are good and the Discovery is practical, with lots of cubbies and twin gloveboxes. It has a sense of occasion too, with high-grade plastic and a good standard of build. The button layout is confusing, though, and the sat nav can't be altered on the move - no good in a traffic jam.