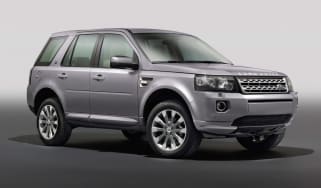
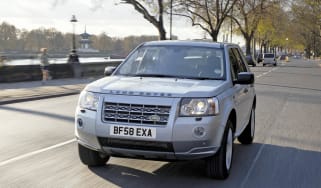
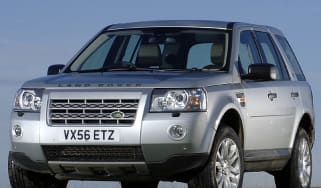
Land Rover Freelander 2 (2006-2014) review
The compact Land Rover Freelander 2 has a comfortable drive, a strong diesel engine and excellent off-road ability
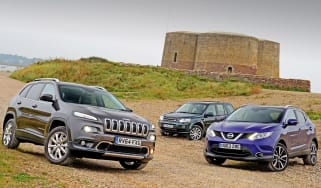
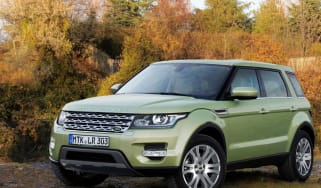
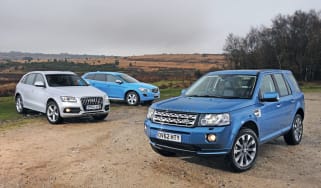
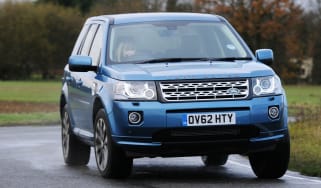
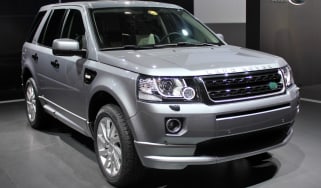
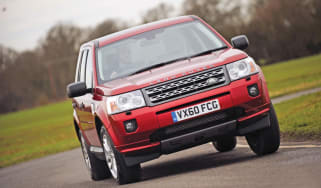
With the arrival of the excellent Range Rover Evoque, it's easy to forget about the other compact Land Rover in the range – the Freelander 2. But you shouldn't because it offers a comfortable driving experience, brilliant off-road ability and is very well made. It's not as sporty to drive as a BMW X3 and it's expensive to buy, too. But the Freelander is well worth a look, especially as it was revised at the end of 2012, with stylish new lights and a neater interior.
It was first revealed in 2006, but constant development means the Land Rover Freelander 2 is still a tough contender in the compact SUV class. However, it’s reaching the end of its life – the new Discovery Sport replaces it early next year – and Land Rover has pared down the range accordingly. SE, SE Tech and limited-edition Metropolis versions are available, and power comes from the 148bhp TD4 diesel or a 188bhp SD4 diesel auto.
Engines, performance and drive
The first thing you notice from behind the wheel is how tall you sit in the Freelander. Not only are you high off the ground, the window line feels lower, although you get a good view out.
Used - available now

2023 Audi
e-tron
33,577 milesAutomaticElectric
Cash £15,700
2022 Land Rover
Defender 90
2,447 milesAutomaticDiesel3.0L
Cash £53,450
2022 Nissan
Qashqai
25,451 milesManualPetrol1.3L
Cash £14,200
2022 Mercedes
GLA
22,739 milesAutomaticPetrol1.3L
Cash £23,900Through corners, the Freelander doesn’t feel as precise as rivals, but that’s to be expected as its chassis design is nearly a decade old. Even so, despite a fair amount of body roll and light steering, the car always feels safe and predictable, plus there’s plenty of grip.
The Freelander’s forte is cruising comfort. The suspension does a good job of ironing out lumps and bumps at any speed, and it’s fairly smooth on motorways, too – there’s a bit more wind noise at cruising speeds, but it’s not going to cause any upset.
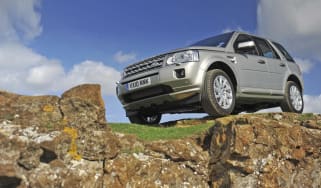
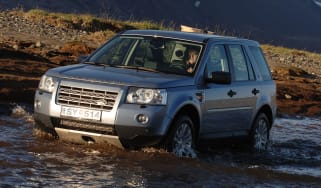
As you would expect from a Land Rover, the Freelander has permanent four-wheel drive, and it will show a clean pair of heels to most off-roaders over the rough stuff. There’s a pared-down version of Land Rover’s Terrain Response system on board, which adjusts the traction control according to the conditions, and ground clearance and shorter overhangs mean the Freelander will be able to head further off the beaten track than its rival.
MPG, CO2 and Running Costs
The cheapest way to run a Land Rover Freelander is to go for the entry-level front-wheel drive 148bhp eD4 model which gets stop-start and returns 47.1mpg while emitting 158g/km of CO2. By comparison, the 188bhp 4x4 version posts 40mpg and 185g/km – not bad but not great when you consider a 184bhp 2.0d BMW X3 beats both models, returning 50.4mpg and emitting just 149g/km of CO2.
The Freelander is expensive to buy, especially when you consider top-spec models are within reach of the cheapest Range Rover Evoques. However, residuals are strong due to strong brand image. Servicing costs are likely to be average for the class and equipment levels are good. Even entry-level models are well-equipped.
Further up the range models have electric seats and sat-nav, while flagship models boast leather trim and a CD changer.
Interior, design and technology
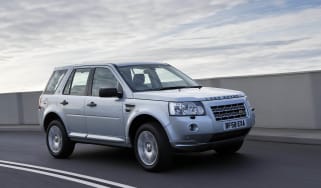
Compared to other Land Rover models, the Freelander 2 is looking a bit dated, with its chunky and upright shape. However, its simplicity helps it stand apart from newer rivals.
There are familiar Land Rover design cues, such as the floating roof and squared-off clamshell bonnet, while daytime running lights and revised grilles and bumpers have kept it looking fresh.
Inside, the Freelander has benefited from Land Rover’s push upmarket, and the dashboard is a high-quality affair, with soft-touch materials and metal trim. There’s no Terrain Response dial like you’ll find in a Discovery; instead you get a pair of buttons which scroll through the various transmission settings.
Overall, the Freelander has a clean, simple-looking interior, although the sat-nav display does look old when compared to offerings from more recent rivals.
Practicality, comfort and boot space
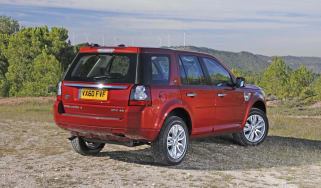
The Freelander is well suited to the rough and tumble of family life with a big boot that has 755 litres of load space with the rear seats in place and a massive 1,670 litres with them down. That beats the BMW X3 by a long way – plus it features heavy duty, wipe clean materials on the boot floor and lots of cubby holes throughout the cabin. Front seat space is very good but knee room in the back could be better.
You sit up high and enjoy a commanding view of the road ahead, thanks to a wide windscreen and relatively narrow A-pillars. Large glass areas behind the driver make it easier than most SUVs to reverse park, too.
Off-road, the Freelander beats more on-road focused rivals like the Audi Q5 and BMW X3 hands down thanks to its excellent Terrain Response system, which features a number of modes to tackle different surfaces and limited grip levels. Although be aware that entry-level versions and the eD4 do miss out on this impressive electronic system.
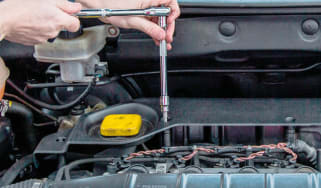
Reliability and Safety
You get seven airbags as standard on the Land Rover, while traction and stability control also feature to enhance the car’s already excellent grip. Reliability is a different matter – the original Freelander was one of the most troublesome cars on UK roads, with owners constantly visiting their dealer. The current model has been on sale for long enough that technical gremlins will have been ironed out, while Land Rover’s move upmarket should give quality a boost, too.
The Freelander has a five-star Euro NCAP crash test rating, although it earned this back in 2007 before tougher testing conditions were brought in.
For an alternative review of the latest Land Rover Freelander 2 SUV visit our sister site carbuyer.co.uk